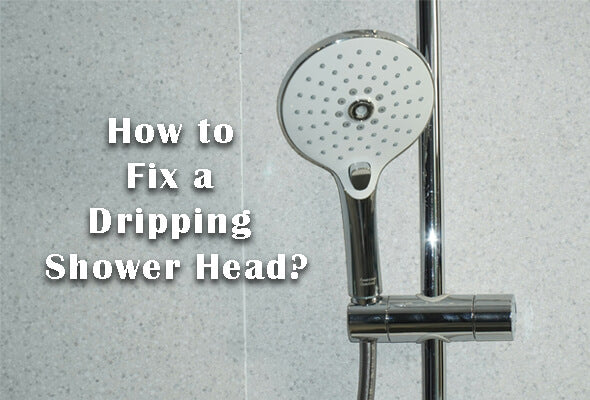
Of all the things that can keep you up at night, nothing is more grating on the nerves than a leaky showerhead. Not only is the continual dripping sound irritating, but wasting water is not good for the environment, and it can cost you extra monthly.
The good news is that leaky shower heads often require nothing more than a quick repair. The secret of how to fix a dripping shower head is not all that secret with these helpful tips. If it’s time to replace your old shower head, doing so with our AquaBliss products can be tackled by any willing do-it-yourselfer!
So, before you call a professional and pay for an expensive house call, try these easy troubleshooting leaky showerhead fixes or consider replacing it for an inexpensive upgrade that can transform more than just your shower - it can give you a new lease on life.
What is a Dripping Shower Head?
Although we all use the term “dripping shower head,” that doesn’t necessarily mean that we all mean the same thing. The dripping may indicate that your shower head needs to be cleaned.
Over time, it’s common for dirt, grime, and limescale to build up in your shower head, which can limit water flow and create blockages that lead to dripping and leaking. Many people also start by asking, “Why is my shower head leaking?”, and the answer often lies in simple causes like mineral deposits or worn-out parts.
If your showerhead is older, there could also be damage to the inner seals from wear and tear. The first step to fixing your dripping shower head, therefore, is to figure out what is causing the leak.
What Are the Common Causes of a Leaking Shower Head?
There are several reasons your shower head might be leaking. The key to fixing it is to figure out why it is dripping in the first place.
If you’ve been wondering, “Why is my shower head leaking even after I turn it off?”, the answer could be as simple as dirt or limescale buildup or as serious as internal seal damage. The most common causes of a leaking shower head are dirt, limescale, and mineral deposits, which build up, leading to limited flow. However, your shower head could also have a broken seal or a worn seal due to wear and tear.
Worn-Out Faucet Washer

One of the most common suspects of a leaky shower head is worn-out washers. Shower heads are like everything else - they don’t last forever. Over time, the washers that seal your shower head and stop it from leaking can begin to wear thin.
When the seals no longer hold, it can lead to a leaky shower head. The washers are located around the showerhead joints. Unscrew the shower head, paying close attention to the rubber ring at the connection.
If you notice that the rubber washer has a build-up that is limiting its function or that it is torn or damaged in any way, then you will need to replace it to stop the showerhead from leaking. This is a common fix for homeowners who first search “why is my shower head leaking” online.
Shower Head Corrosion
Over time, mineral and dirt buildup can lead to blockages in the shower valve nozzle, and when that happens, it can limit water from passing through. Mineral buildup in your showerhead can lead to low water pressure.
It can also result in water spraying in different directions. If build-up is not addressed, then it can lead to corrosion and leakage of your showerhead.
Shower heads are susceptible to corrosion because the metal in them can react with oxygen, leading to rust and damage that will affect the functioning of your showerhead.
High Water Pressure
Every shower has a certain amount of water pressure, which is the amount of force that the water exerts when it runs through the pipes. High water pressure can result in the shower head dripping because it compresses the washers within the showerhead, reducing their ability to maintain a tight seal properly.
The high water pressure can also force the washer into the shower pipe. The washer must be clean, and lying flat so it can properly seal and prevent dripping. The best way to examine your water pressure’s intensity is to buy a pressure gauge.
A pressure gauge can help you determine whether your pressures are too high for a shower head. Typically a pressure that exceeds 80 psi is too high for a showerhead to function properly.
Tools Required to Fix a Dripping Shower Head

Although fixing a showerhead isn’t rocket science, you must have the proper tools to fix a leaking showerhead. Once you take the showerhead apart, you will want to have the tools at hand so that you won’t be scrambling to find what you need.
Have the following special tools handy before you begin:
- Pliers or wrench
- A flathead screwdriver
- White vinegar
- A soft cloth
- Shower rubber
- Thread sealing tape or Teflon tape
- Old toothbrush
Step-by-Step Guide to Fixing a Dripping Shower Head
Below is a detailed, step-by-step guide to help you fix a dripping shower head and restore your shower to optimal functionality.
Step 1 - Shut Off the Water Supply Using the Water Shutoff Valves
Before you do any plumbing work, you’ll want to shut off the main water supply to it. Even if it appears to be a small leak, if you don’t turn off the main supply access panel, things will get out of control quickly.
When you turn off the water supplying the showerhead, you can make sure that a minor dripping showerhead doesn’t turn into a major catastrophe. By shutting off the main supply to the entire house, you can ensure you are preventing water flow from the pipe stem.
You will also want to protect the area using a towel or cloth in the shower or bathtub to catch any falling parts and protect any fixtures that lie beneath.
Step 2 - Disassemble the Shower Head
Disassemble the shower head with your hands, although if it is stubborn, a wrench or pliers might be necessary. Make sure to wrap the jaws of the tool with a cloth to prevent scratching the finish.
Turn the shower head counterclockwise (left) to unscrew it from the shower arm. If there are any corroded parts, spray the joint where the shower head connects to the faucet handle arm with oil (like WD-40).
Allow the oil to sit for about 15-20 minutes to help loosen any build-up or corrosion. You can also try using the heat from a hairdryer, as it will help expand the metal and break up the corrosion.
Step 3 - Clean and Inspect Components
The next step is to clean the shower head. First, soak the components in vinegar by filling a large bowl or bucket with equal parts vinegar and water. Submerge the shower in the solution and allow it to soak for 30 minutes or more.
The vinegar will help to dissolve mineral buildup and hard water deposits. Then, scrub the nozzles with a soft brush or old toothbrush to remove any dirt or build-up. Finally, thoroughly wash the showerhead with water to remove any vinegar residue and loosened debris.
You will also want to clean the shower arm with vinegar and clean the threads on the shower arm so that no old residue remains. While cleaning the individual parts, inspect to ensure there are no cracks, warps, or other damage to the shower head itself.
Minor damage can often be fixed, but if there are significant issues, you might need to replace the entire shower head.
Step 4 - Replace Worn-Out Parts
If you do see signs of wear and tear or damage to the showerhead parts, replace them. Replace the manufacturer-recommended washers if you see any signs of damage or if they are wearing out.
As long as you have the shower apart, it might behoove you to replace it. Washers tend to be very inexpensive and replacing a washer while cleaning might prevent further leaks in the future.
Also, inspect the O ring, which is a circular rubber seal that helps to prevent leaks occurring around various joints, if you see any signs of cracks, wear or deterioration.
Some shower heads will have a screened washer that acts as a filter that helps to trap debris. If it is clogged or damaged, make sure to clean it or replace it. Finally, check the gaskets for signs of deformation or excessive wear and tear.
Step 5 - Reattach the Shower Head
Once you have cleaned the threads and any components that may be leading to your shower head leak, reinstall the shower faucet head. Clean the threads of the shower arm and remove any old tape or residue.
Next, wrap Teflon tape/plumber’s tape around the threads clockwise (right) of the shower arm to ensure a watertight seal and to prevent future leaks.
Then, attach the shower head by screwing it back onto the shower arm in a clockwise direction (right). Tighten it gently by hand. Tightening with tools can make the connection too tight and also cause the connection to leak.
Step 6 - Test for Leaks
Now that the shower head is reattached, gradually turn on the water to check for leaks.
How Long Does it Take to Fix a Dripping Showerhead?

There is no set time for fixing a leaking showerhead. Usually the amount of time necessary depends on the complexity of the shower head system and the amount of build-up and/or damage.
If you find that the showerhead is damaged beyond repair, then you will want to replace it altogether. If you do need to repair your showerhead, consider upgrading it.
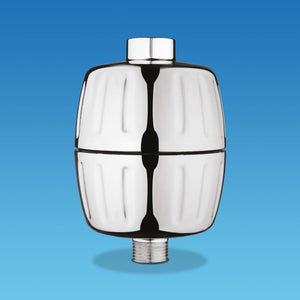
At AquaBliss, we have several different options that you can tailor to transform your shower into a spa-like experience, a massage combined in one. Whether you want to have a rejuvenating massage after a long day or an exhilarating beginning to your morning, we have superior shower heads to match all of your needs.
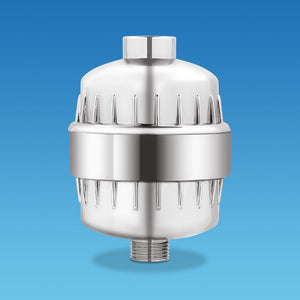
From water conservation to showerhead filters that reduce harsh tap water chemicals and toxins from your water. AquaBliss products are above the rest with high quality and advanced filtration options.
Don’t Just Fix a Leaking Showerhead - Transform it!
When it comes to home improvement projects and repairs, a leaky shower faucet or shower fixture in your bathroom requires very little knowledge or money. Not only is a leaky shower head faucet annoying; it can lead to wasted water and an increased water bill.
Once you identify where the leak originated, as long as the shower head's hot and cold water components are in good condition, it usually takes nothing but cleaning build-up and repairing or replacing loose connections.
If you do have to install a new shower head because the leaking persists, it makes more sense to spend a little more for longevity and luxury upgrades. AquaBliss is committed to selling quality shower heads that last. Contact our sales team today to find one that works for your needs.


